Post excerpt from American Folk Life Center “Oral History Interviews”
There are many publications that outline the techniques and principles of oral history work. The following tips about interviewing —the central technique concerned with recording oral history interviews —may serve as a helpful and concise summary.
1. Prepare for the interview by finding out about your interviewee, researching your topic or topics, testing your equipment, and organizing the questions that will help you plan what you want to cover during the interview.
2. Clearly and accurately explain to your interviewee who you are, why you want to do the interview, and what will happen to the information you collect from that person.
3. Be yourself. Don’t pretend to know more about something than you do know.
4. Never record secretly.
5. Record in a location that’s comfortable and quiet.
6. At the start of the recording, make a brief opening announcement that specifies date and place of the interview, names of the interviewer and interviewee, and the general topic of the interview.
7. Keep the audio recorder or video camera running throughout the interview. **(Unless you have assistance for easier logging later)
8. During the interview, encourage your interviewee by paying attention. Keep any time spent looking at a list of questions or adjusting the recording equipment to a minimum.
9. As a rule, keep questions short. Avoid complicated multi-part questions.
10. Never ask a question you don’t understand.
11. Avoid asking questions that can be answered with “yes”or “no.”
12. Don’t ask leading questions that suggest answers.
13. Try to keep your opinions out of the interview.
14. Don’t begin with questions about controversial subjects.
15. Don’t interrupt your interviewee’s answers. Use non-verbal communication (eye-contact and nodding) to encourage him or her.
16. Use follow-up questions to elicit more detailed information.
17. Be prepared to let your interviewee take the discussion off in different directions. This can sometimes lead to unexpected and exciting discoveries.
18. Make the recording as complete and accurate a record of the interview as you can. If you are using only an audio recorder, and the interviewee makes a significant gesture —ask more questions that allows the information to be captured on the recording verbally.
19. Consider using visuals during the interview such as photographs, maps, and other materials to elicit information.
20. Keep your interviews to a reasonable length. A typical length for an interview is between one and one and a half hours. It is the interviewer’s responsibility to determine if the interview should be concluded because the interviewee is becoming fatigued or for any other reason.
21. Make a brief closing announcement at the end of the interview.
22. Carefully save the recording so it can be retrieved later on. This may involve placing a copy of a digital recording on a hard drive and giving it an accession number that will allow it to be readily identified out of the other interviews made during the project.
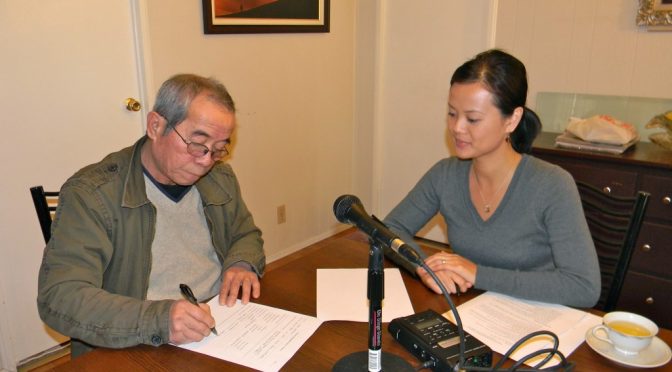
23. Use a release form. As mentioned earlier, this will clearly establish that the interviewee has agreed to take part in the interview and allow the recording used in accordance with the stated goals of the project.
24. Carefully review the recording of the interview later on in order to analyze the data, prepare for future interviews, and improve your interviewing technique.

