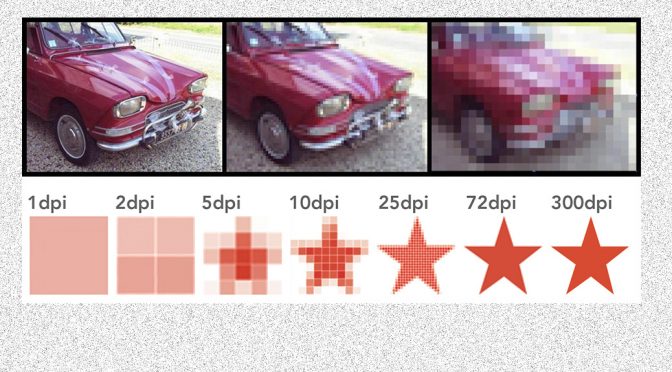
Pixels determine the image size on a screen
Digital images are formed from lots (tens of millions in some cases) of different coloured dots, known as pixels. The pixels are tiny and tightly packed, so when viewed on a screen, the individual dots are not noticeable, giving the illusion of a perfectly smooth yet sharp image.
It so happens that computer screens are made up of pixels too, so it is reasonably easy to predict how much space an image will take up on a screen.
Example
Let’s use this picture of Archie. This is one of our free downloads, and is 300 pixels wide x 400 pixels high.

Example image 300 pixels wide x 400 pixels high
If we imagine a computer monitor that is 1300 pixels wide x 800 pixels high, this picture will take up this amount of space on the screen:

And here is our “medium” sized picture of Archie which is 480 pixels x 640 pixels:

Example image 480 pixels wide x 640 pixels high
See how this image takes up more space on the screen:
 And what about our “high resolution” version of this image (3024 pixels x 4032 pixels)?

As you can see, the high resolution image is much bigger than this computer screen. So does this mean that you never need high resolution images for screen use? In many cases, that is correct, one of the smaller versions is likely to suffice. However if you were using an image for a full screen background, you may well need the high resolution version, but might want to reduce its size yourself.
3 Actions Steps To Help You Decide What’s The Best Resolution For Your Photo Scanning Needs
-
If you use 300 DPI, you’ll be safe. You’ll get HDTV quality images. And you can re-print them out at the original size.
-
But if you want to double or triple the size of your original photo, use 600 – 900 DPI. And it’s always better to have too many pixels, than too little. I personally scan all my 4×6 photos at 900 DPI.
-
If you have photos smaller than 4×6, use 900 DPI or more. I personally use 1200 DPI to scan all my smaller photos.

